Tutorial 3
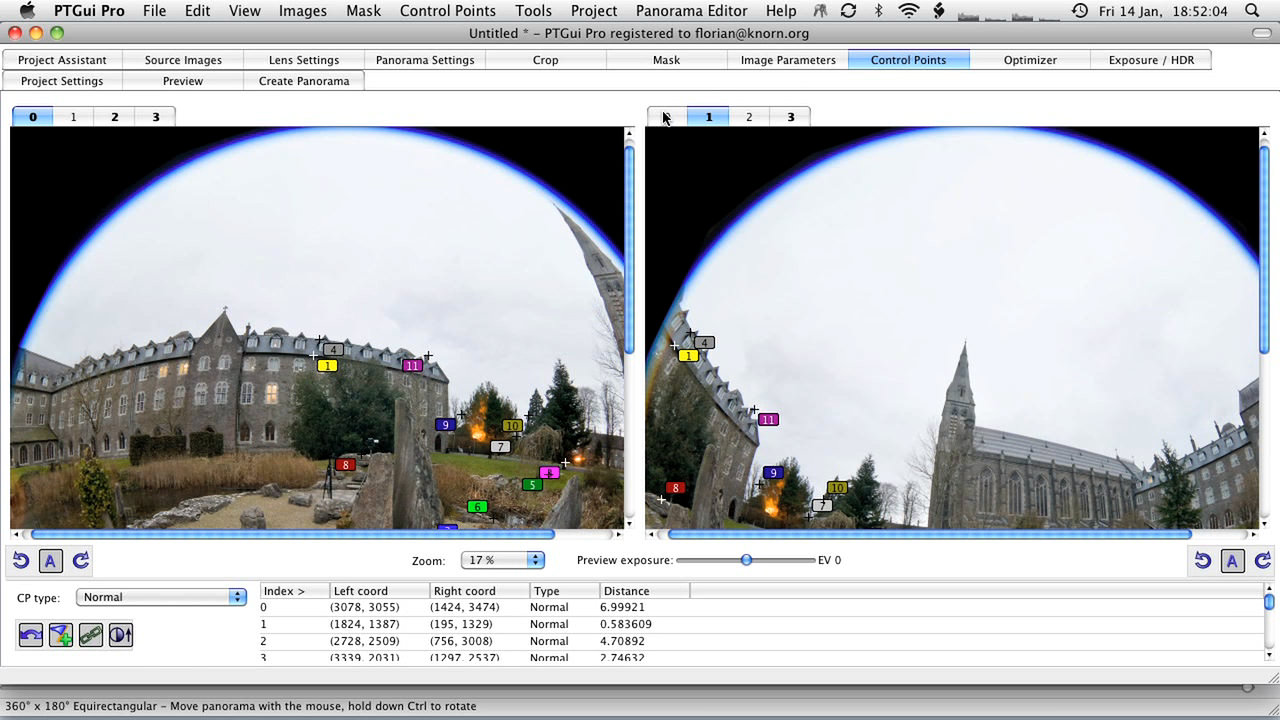
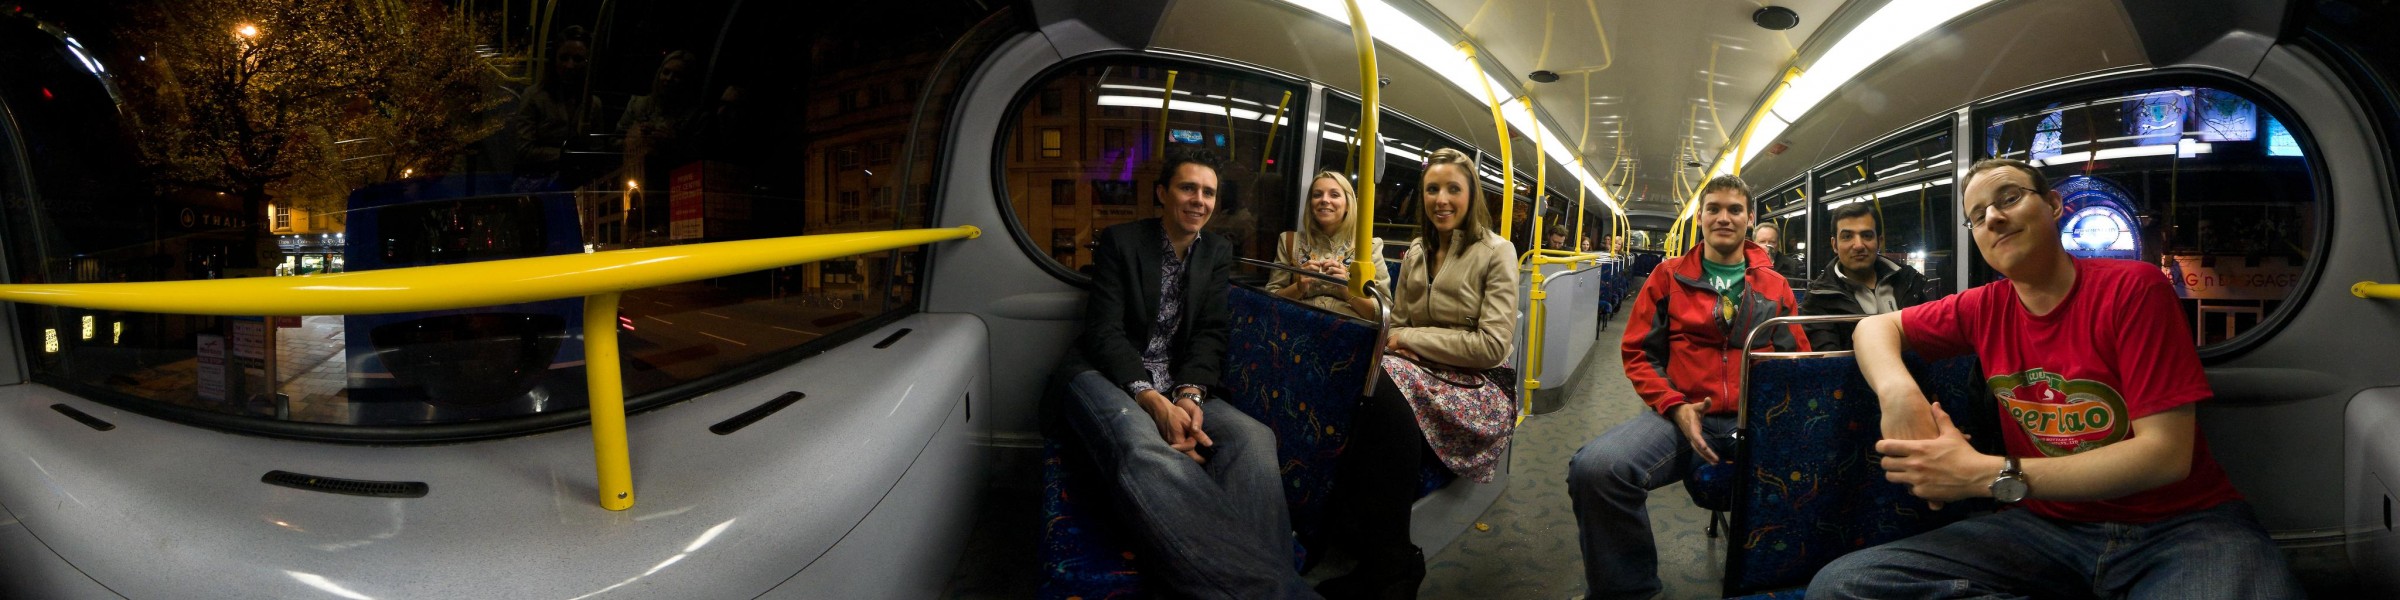
After shooting and developing the images, we will now stitch them together into the final 360×180° fully spherical panorama.
To try it out for yourself, download the images from here!
This tutorial covers the images shot with the “Philopod pitch variation technique”. I’m just showing you my regular workflow in PTGui Pro — the images I shot handheld (in the first tutorial video) turned out to be accurate enough so that there were no major problems.
More infos about Using SmartBlend on the Mac and PanoGLView.
I shouted bunch of photos. 1 series for normal panorama and second one for spherical panorama with Panasonic LUMIX DMC-FZ300. When I import these pics in PTGui, they will not align. I do have the Pro version
And how am I supposed to help with so little information? 🙂
Hi Florian, I stitched 15 images (HDR). When I finished, there is one piece that doesn’t align perfectly. It’s not bad but you can tell it’s not aligning. Do you know how to fix it? All the other scenes align perfectly. It’s just one which is the second shot after the first. I don’t know how and what to do to fix. Very frustrating…
Hi John,
Apologies, but it is very difficult to answer such generic question. Please contact me directly with some sample images and we can take it from there. Thanks!
Awesome tutorials , they literally helped me very much , my struggle now is why Ptgui produce less sharp panorama than the original individual images, which I’m totally unsatisfied with result interm of sharpness , i use Sony alph 7 camera with sigma 10mm 2.8 and R1 nodal ninja panohead , four shots taken at plus 7.5 tilt, individual image size is 9480/4740, Ptgui stitches them nicely , i tried every single setting when i create panorama, using jpg , tiff (16bit) , smartblend plugin and different interpolaters , they give me the same result of the lesser sharp panorama than original image , i do not know what I’m doing wrong , i appreciate your valuable advice ..
Hi Egami, what kind of camera settings are you using? You should use an aperture between F/5.6-F/11 at most, better somewhere in the middle there. Focus manually, and carefully. Another issue could be your zoom level. I’m pretty sure that if you compare a source-image at 100% with your output panorama at 100% (in a normal image viewer, not a pano viewer, and only at the equator level), then they should be pretty much the same sharpness.
Hello Florian
Very great tutorial but if I open your Panoglview link there is only the dmg file for Mac.
Please could you tell me if there is also a Panoglview version for Windows?
I hope in your help. Thanks and regards.
No, it’s OSX only. However, on Windows you could use the great FSPviewer which is also quite powerful and completely free.