Tutorial 4
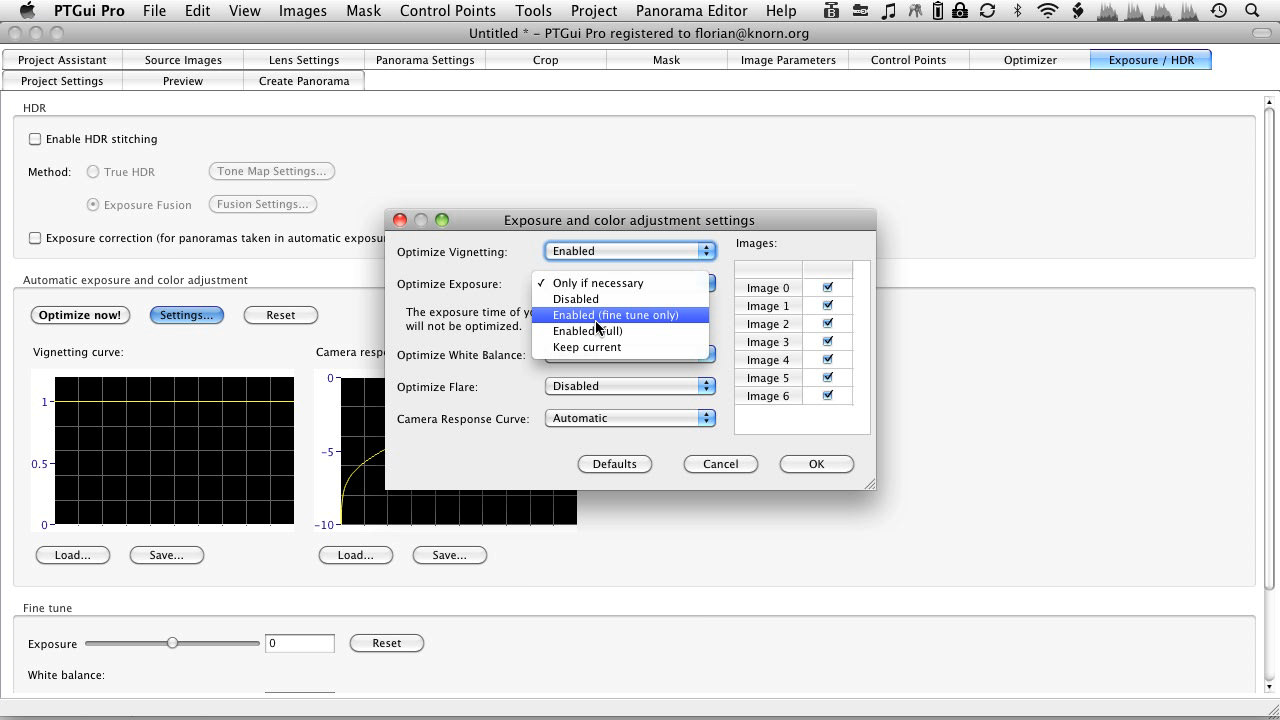
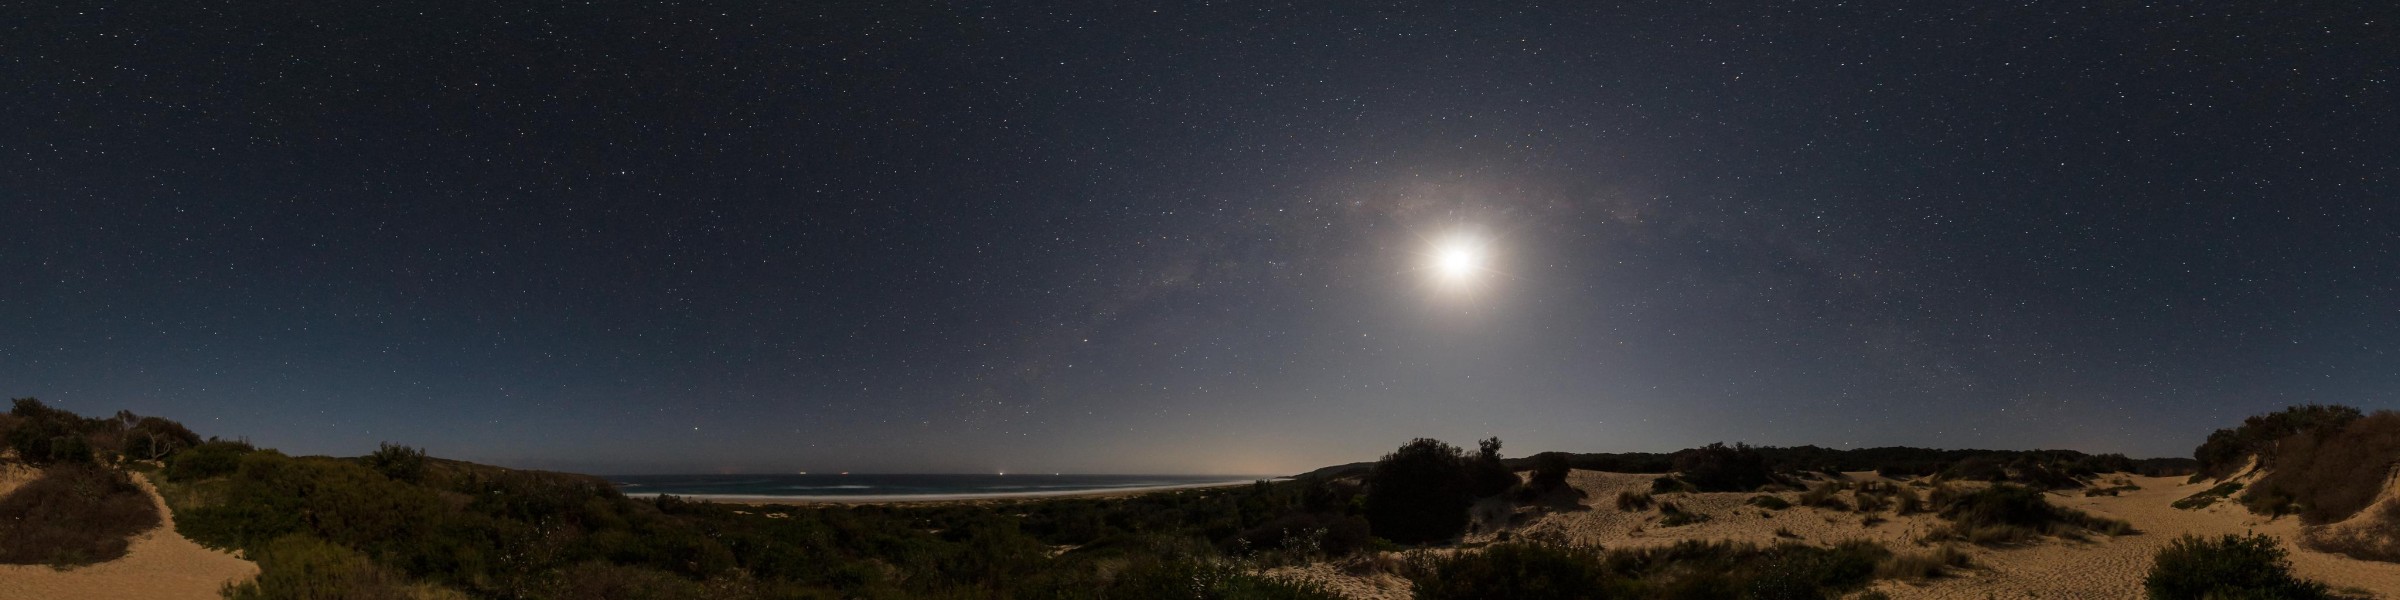
Here’s the another set of images to be stitched in PTGui — images shot from the tripod. We thus need a couple of extra steps (using the masking feature and “Viewpoint correction”) to prevent the tripod from appearing in our final panorama.
To try it out for yourself, grab the images here!
The final outcome can be seen here on 360cities.net.
Thanks Florian for the clear and concise tutorial. No more photoshop nadirs for me. Cheers, Nick.
Hi Florian, I hope you are fine!
One comment on tutorial 4:
Is that possible to remove tripod taking only 4 photos ? In case it is possible please send me a video showing that. I’m very interested to know about the entire process (from shoot photos to stitched in PTGui). In case is not possible please send information about the best way to remove tripod in a easy and efficiently way.
Thank You and Have a great day!
It depends on the lens you are using ! On a full-frame camera, a 8mm fisheye allows you to take a full spherical pano with 3 shots (with a Nikon 10.5 f/2.8 (with sunshade cut), you can also make a full spherical in 3 shots, filling more the sensor surface !) ! …then take a 4th shot, camera tilted down ~60° and moved some 4 feet away, to shoot the Nadir for the “Viewpoint Correction” !
Well, it depends on your shooting pattern. But generally, you need of course to cleanly capture “all pixels around you” in some form or another (i.e. without a tripod obscuring them). Which ever shooting pattern you use to achieve this is entirely up to you. Otherwise, if you don’t have parts of your image without tripod in it, you need to retouch those parts in an image editor to make up for those “lost” pixels.
Thank you for the nice tutorial! I am wondering: which website did you use for the animation starting at 3:34 in the video? Thanks!